If you are a proud Golden Retriever owner, you may already be familiar with rose ears and the importance of proper ear taping. While it may seem intimidating, with the right techniques and guidance, ear taping can be a manageable process that can help maintain your furry friend’s ear shape and prevent any potential ear problems.
In this comprehensive guide, I will walk you through the step-by-step process of taping a Golden Retriever’s rose ears, covering important considerations such as ear anatomy, tape selection, and taping techniques. By following these instructions, you can ensure successful and comfortable ear taping for your beloved furry friend.
Key Takeaways:
- Taping a Golden Retriever’s rose ears is a manageable process when following the right techniques and guidelines.
- Proper ear taping is essential for maintaining your Golden Retriever’s ear shape and preventing potential ear problems.
- Important considerations for effective ear taping include ear anatomy, tape selection, and taping techniques.
- By following the step-by-step instructions in this guide, you can ensure successful and comfortable ear taping for your Golden Retriever.
Understanding Rose Ears in Golden Retrievers
As a proud owner of a Golden Retriever, you may have noticed that your pooch has what are known as “rose ears.” These ears tend to flop forward and sometimes even cover the ear canal, making it difficult for air to circulate and leading to potential ear infections. Therefore, taping is a common practice to help the ears stand upright and allow for proper air circulation.
Golden Retrievers are not born with rose ears; they develop as the puppy grows. The ear cartilage softens and, along with the weight of the ear itself, causes the ear to fold forward. This can create a conducive environment for bacteria and yeast to thrive, leading to infections.
To avoid any such problems, it is crucial to understand the anatomy of rose ears and the reasons why taping is necessary. By understanding the underlying structures of the ear and how taping can help, you can ensure better ear health for your Golden Retriever.
Effective methods for taping Golden Retriever ears involve understanding the anatomy behind the dog’s ear and why tape can be beneficial. By learning how to tape the ears correctly, you can help prevent ear infections and keep your Golden Retriever healthy and happy.
Preparing for Ear Taping
Before beginning the ear taping process for your Golden Retriever with rose ears, you must make sure you have all the necessary materials. Here is a list of items you will need:
- Cotton balls or pads
- Cotton swabs
- Scissors
- Adhesive tape
- Paper or plastic cups
Once you have gathered all the materials, it’s essential to create a clean and comfortable environment for your Golden Retriever. Make sure you choose an area with sufficient light to see the fine details of the ear. Additionally, sit your dog in a comfortable position and reward them with treats throughout the taping process.
It’s also crucial to clean your Golden Retriever’s ears before starting the taping process. Clean each ear thoroughly with a cotton ball or pad and a cotton swab. It’s essential to remove any dirt or wax buildup that could affect the effectiveness of the tape.
Now that you have all the materials and have created a comfortable environment, and cleaned your Golden Retriever’s ears, you’re ready to proceed to the next step, choosing the right tape and technique for your Golden Retriever’s rose ears. Let’s explore this step in more detail in the next section.
Choosing the Right Tape and Technique
When it comes to taping a Golden Retriever’s rose ears, selecting the appropriate tape and technique is crucial for success. There are many types of tape to choose from, but not all of them are suitable for ear taping. Here are some factors to consider when choosing the right tape:
| Tape Type | Pros | Cons |
|---|---|---|
| Surgical tape | Easy to apply, gentle on skin | May not provide enough support for heavy ears |
| Sports tape | Strong and durable | May irritate skin |
| Paper tape | Gentle on skin, easy to tear | May not stick well enough, may not provide enough support for heavy ears |
It’s also important to consider the technique used for taping. The most common techniques include:
- The loop technique – involves creating a loop of tape and attaching it to the dog’s ear
- The figure-eight technique – involves wrapping tape around the ear in a figure-eight pattern
- The basket weave technique – involves weaving strips of tape through each other to create a basket-like structure around the ear
Each technique has its own advantages and disadvantages, so it’s essential to choose the one that will work best for your Golden Retriever’s specific needs.
When choosing the tape and technique, it’s helpful to consult with a veterinarian or professional dog trainer who has experience in ear taping. They can provide you with valuable insights and advice on the best approach to take.
Step-by-Step Taping Process
Now that all preparations have been made, it’s time to begin the taping process. Follow these step-by-step instructions for successful ear taping:
- Clean the Ears: Before applying any tape, it’s important to clean your Golden Retriever’s ears with a gentle cleanser. This will remove any dirt or debris that could prevent the tape from sticking properly.
- Measure Tape: Cut two strips of adhesive tape, each around 4 inches long. Make sure the tape is not too sticky, or it may pull too hard on the fur or skin.
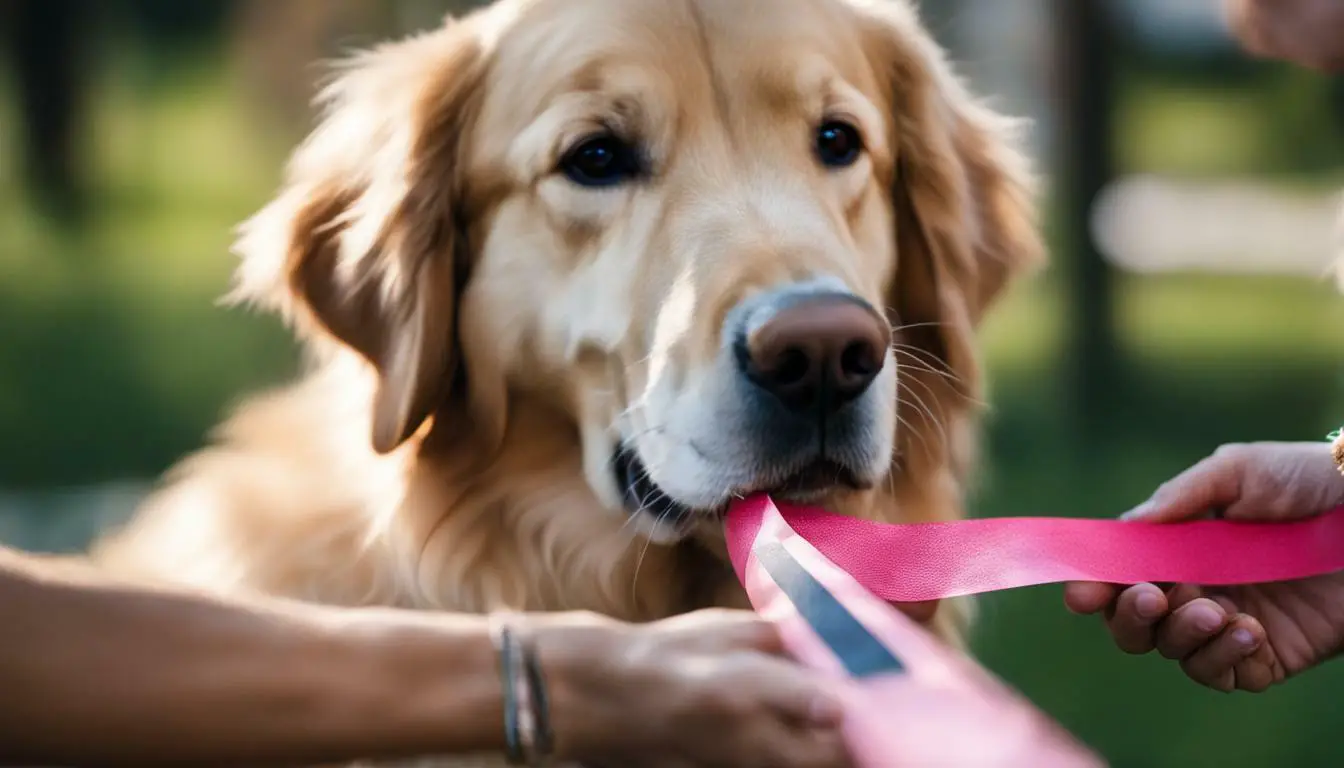
- Apply Tape: Hold the ear firmly upright and place one strip of tape across the front of the ear, just below the base. The tape should be snug enough to hold the ear in a vertical position, but not so tight that it causes discomfort. Repeat on the other ear.
- Pinch Ears: Using your fingers, gently pinch the base of the ear to create a crease. This crease will help to define the rose shape and give the ear a more pronounced fold.
- Wrap Tape: Wrap one end of the tape around the back of the ear, just above the crease. Pull the tape across the front of the ear, above the first strip of tape and below the crease. Continue wrapping the tape around the back of the ear, securing it in place just below the crease. Repeat on the other ear.
- Check Comfort: Once both ears have been taped, check for any signs of discomfort or irritation. If your Golden Retriever appears uncomfortable, or if the tape is too tight, adjust the tape as needed.
- Monitor Progress: Keep an eye on the taped ears throughout the day to ensure they remain in the desired position. If you notice any signs of discomfort or if the tape has shifted, adjust the tape accordingly.
- Remove Tape: After a few days, remove the tape and allow your Golden Retriever’s ears to rest for a day or two. Check for any signs of irritation or discomfort, and make sure the ears are staying in the desired position. If necessary, repeat the taping process until the ears have permanently set in the rose shape.
Following these steps will help ensure a successful ear taping process for your Golden Retriever. Remember to take your time, be gentle, and monitor your furry friend for any signs of discomfort or irritation.
Tips for Successful Taping
As you prepare to tape your Golden Retriever’s rose ears, there are several tips you should keep in mind to ensure successful taping:
- Be patient: Taping your Golden Retriever’s ears may take some time and practice, so be patient and take breaks if needed.
- Use the right tape: Selecting the appropriate tape is essential for successful taping. Be sure to choose a tape that is gentle on your dog’s skin and does not cause irritation.
- Follow the right technique: There are various techniques you can use to tape your Golden Retriever’s rose ears. Experiment with different methods and find the one that works best for your dog.
- Ensure comfort: Your Golden Retriever’s comfort should be a top priority when taping its ears. Be sure not to wrap the tape too tightly or leave it on for too long.
- Monitor progress: Regularly check your Golden Retriever’s taped ears to ensure proper healing and progress. If you notice any signs of discomfort or irritation, adjust the taping or seek veterinary assistance.
By following these tips and best practices, you can ensure successful taping for your beloved Golden Retriever’s rose ears.
Maintaining Taped Ears and Monitoring Progress
Now that the taping process is complete, it’s crucial to maintain the ears properly. It’s recommended to check the ears daily to ensure that the tape is still in place and that there are no signs of discomfort or irritation.
When maintaining taped ears, it’s essential to keep them dry and clean to prevent infection. You can clean the ears gently with a damp cloth or cotton ball and avoid using any harsh chemicals or solutions.
It’s also recommended to give your dog breaks from the tape and allow the ears to breathe for a few hours a day. During this time, keep a close eye on the ears to ensure that they remain in the desired position.
Throughout the taping process, monitor the progress regularly. If you notice any signs of discomfort, irritation, or redness, it’s essential to remove the tape immediately and consult with a veterinarian.
By following these tips and monitoring the ears’ progress consistently, you can ensure your Golden Retriever’s comfort and the success of the ear taping.
Conclusion
Taping a Golden Retriever’s rose ears is a manageable task that requires attention to detail, proper preparation, and the right techniques. By following the step-by-step guide and tips outlined in this article, you can ensure successful taping and minimize any potential discomfort or complications for your beloved Golden Retriever.
Remember to understand the anatomy of rose ears and why taping may be necessary before diving into the taping process. Properly preparing the ears and choosing the right tape and technique are crucial for successful taping. And don’t forget to maintain the taped ears and monitor progress throughout the taping process to ensure the desired results.
If you encounter any issues or concerns, consult with your veterinarian or a professional dog groomer for additional guidance. With the right tools and knowledge, you can confidently tape your Golden Retriever’s rose ears and keep them healthy and happy.
FAQ
Can I tape my Golden Retriever’s ears myself?
Yes, you can tape your Golden Retriever’s ears yourself. However, it is recommended that you do thorough research and follow proper techniques to ensure the best results.
How long does the taping process typically last?
The taping process can vary in duration depending on your Golden Retriever’s individual needs. It is best to consult with a veterinarian or experienced breeder for guidance on how long to tape your dog’s ears.
Will taping my Golden Retriever’s ears be uncomfortable for them?
While the taping process may feel strange or uncomfortable for your Golden Retriever initially, it should not cause them pain. It is important to be gentle and observe their comfort levels throughout the taping process.
How often should I change the tape on my Golden Retriever’s ears?
The frequency of tape changes will depend on the individual dog and the condition of the tape. It is generally recommended to change the tape every few days to ensure it remains secure and clean.
Can I remove the tape from my Golden Retriever’s ears myself?
Yes, you can remove the tape from your Golden Retriever’s ears yourself. However, it is important to do it carefully and gently to avoid causing any discomfort or injury to your dog.